Ball VS Ball Arena Guide — 1v1, 2v2 and Collision Tactics
How Ball VS Ball arenas decide fights: square-arena collisions, aim setup, 1v1 vs 2v2, the community reroll tactic, and hazards like knives and poison spikes.
FAQ
How does damage work in Ball VS Ball?
Is 2v2 different from 1v1 in Ball VS Ball?
Can you control the ball during the fight?
What is the reroll tactic players talk about?
How do Ball VS Ball arena fights actually play out?
Every match happens in a square arena: you bring a ball, set an aim line, and the balls bounce and collide automatically until one side is knocked out. The official pitch is “pick a ball, watch it fight” — and that is genuinely the whole control scheme. Your influence is entirely pre-fight, so this guide is about spending those two decisions well.
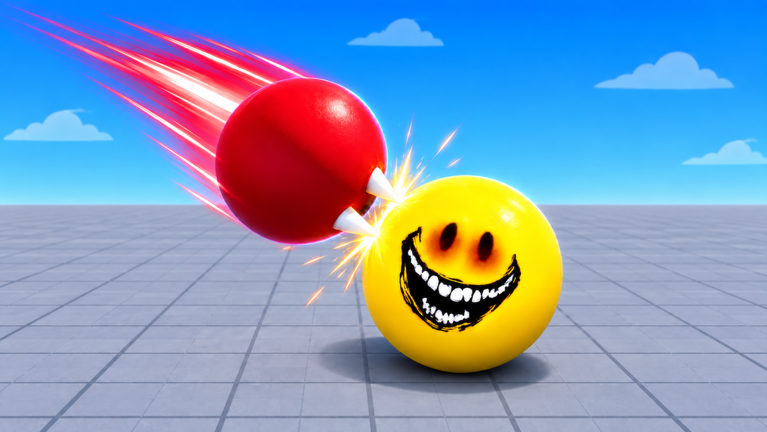
A collision, mid-fight. Image: Ball VS Ball © ATYS 3 (Roblox).
The two decisions you control
Decision 1 — the ball. Each round offers three random balls; each has its own skill. Reading the offer against your mode is the core skill of the game. A ball that shrugs off collisions is a 1v1 grinder; a ball that punishes clusters can wipe a 2v2. When all three offers are weak, spend the once-per-match free pick from your collection instead — that is what it is for.
Decision 2 — the aim line. The pre-match view gives you a dashed aim line. Two things it does:
- First-contact control. The earliest collision compounds — balls that land a clean first hit keep momentum.
- Positioning. Corners and edges of the square arena change rebound angles. Aiming into open space vs. into a wall changes your early trade.
1v1 versus 2v2
| 1v1 | 2v2 | |
|---|---|---|
| Balls in the arena | 2 | 4 |
| What wins | Clean early hits, outlasting | Coordination, target focus |
| Free pick value | Best ball wins long brawls | Save it to answer the enemy duo’s pick |
| Biggest mistake | Ignoring ball skills | Both players bringing the same role |
Servers hold up to 25 players, but matches are always these duel formats — you never fight the whole lobby at once.
Community-reported mechanics (unofficial)
- Mid-match reroll — URGameTips describes rerolling when your ball underperforms. If it is available in your version, use it as a recovery tool when a pick gets countered, not as a plan.
- Hazards — PCGamesN lists “tricks and traps like knives, poison spikes, and talons” among collision effects. Expect fights to be more than plain bumps; how each hazard triggers is not officially documented.
- 40+ ball skills — the official description confirms each ball has a skill, but there is no public skill catalog. Our ball collection guide keeps track of what is confirmed vs. reported.
Putting it together: a match routine
- Read the three-ball offer against your mode before anything else.
- Weak offer? Spend the free pick from your collection.
- Set the aim line for first contact — open space in 1v1, clustered enemies in 2v2.
- Watch one full bounce cycle before judging the fight; collisions compound.
- Lost anyway? Note what the enemy ball did — the skill catalog is learned in losses.
Win or lose, wins pay Coins into the shop loop. If you came from the codes page, the 600 Coins from UPD1–UPD6 are your seed money — and the trading guide covers what to do with duplicate balls once your collection grows.
Related Articles
guides
Ball VS Ball Beginner Guide — How a Match Plays Out
New to Ball VS Ball? Learn the full match flow: the 3-ball pick, aiming, auto-battle collisions, Coins, the group reward, and 1v1/2v2 modes — with sources.
guides
Ball VS Ball Trading Guide — What Is Confirmed About Trading Balls
Trading is an official Ball VS Ball feature: what's confirmed about trading balls, what is not documented, and safe-trading practices that apply to any Roblox game.
Was this helpful?
Thanks for the feedback!